Local development
If you want to create more complex plugins you have also the option to develop a plugin with a local dev environment using your favorite editor. This lets you load other plugins and organize your code in multiple files.
How to develop plugins locally
1. Start by cloning the field-type repository and run the dev server.
$ git clone https://github.com/storyblok/storyblok-fieldtype
$ cd storyblok-fieldtype
$ npm install
$ npm run dev
This will spin up a server on http://localhost:8080.
2. Next, set up a dev server and change your URL to https://app.storyblok.com from http://app.storyblok.com {1}
You can read on how to set up a dev server with HTTPS proxy on MacOS here.
3. Open the file src/Plugin.vue and change the plugin name in the initWith method to the one you created in Storyblok.
src/Plugin.vue
initWith() {
      return {
        // needs to be equal to your storyblok plugin name
        plugin: 'my-plugin-name',
        title: '',
        description: ''
      }
}
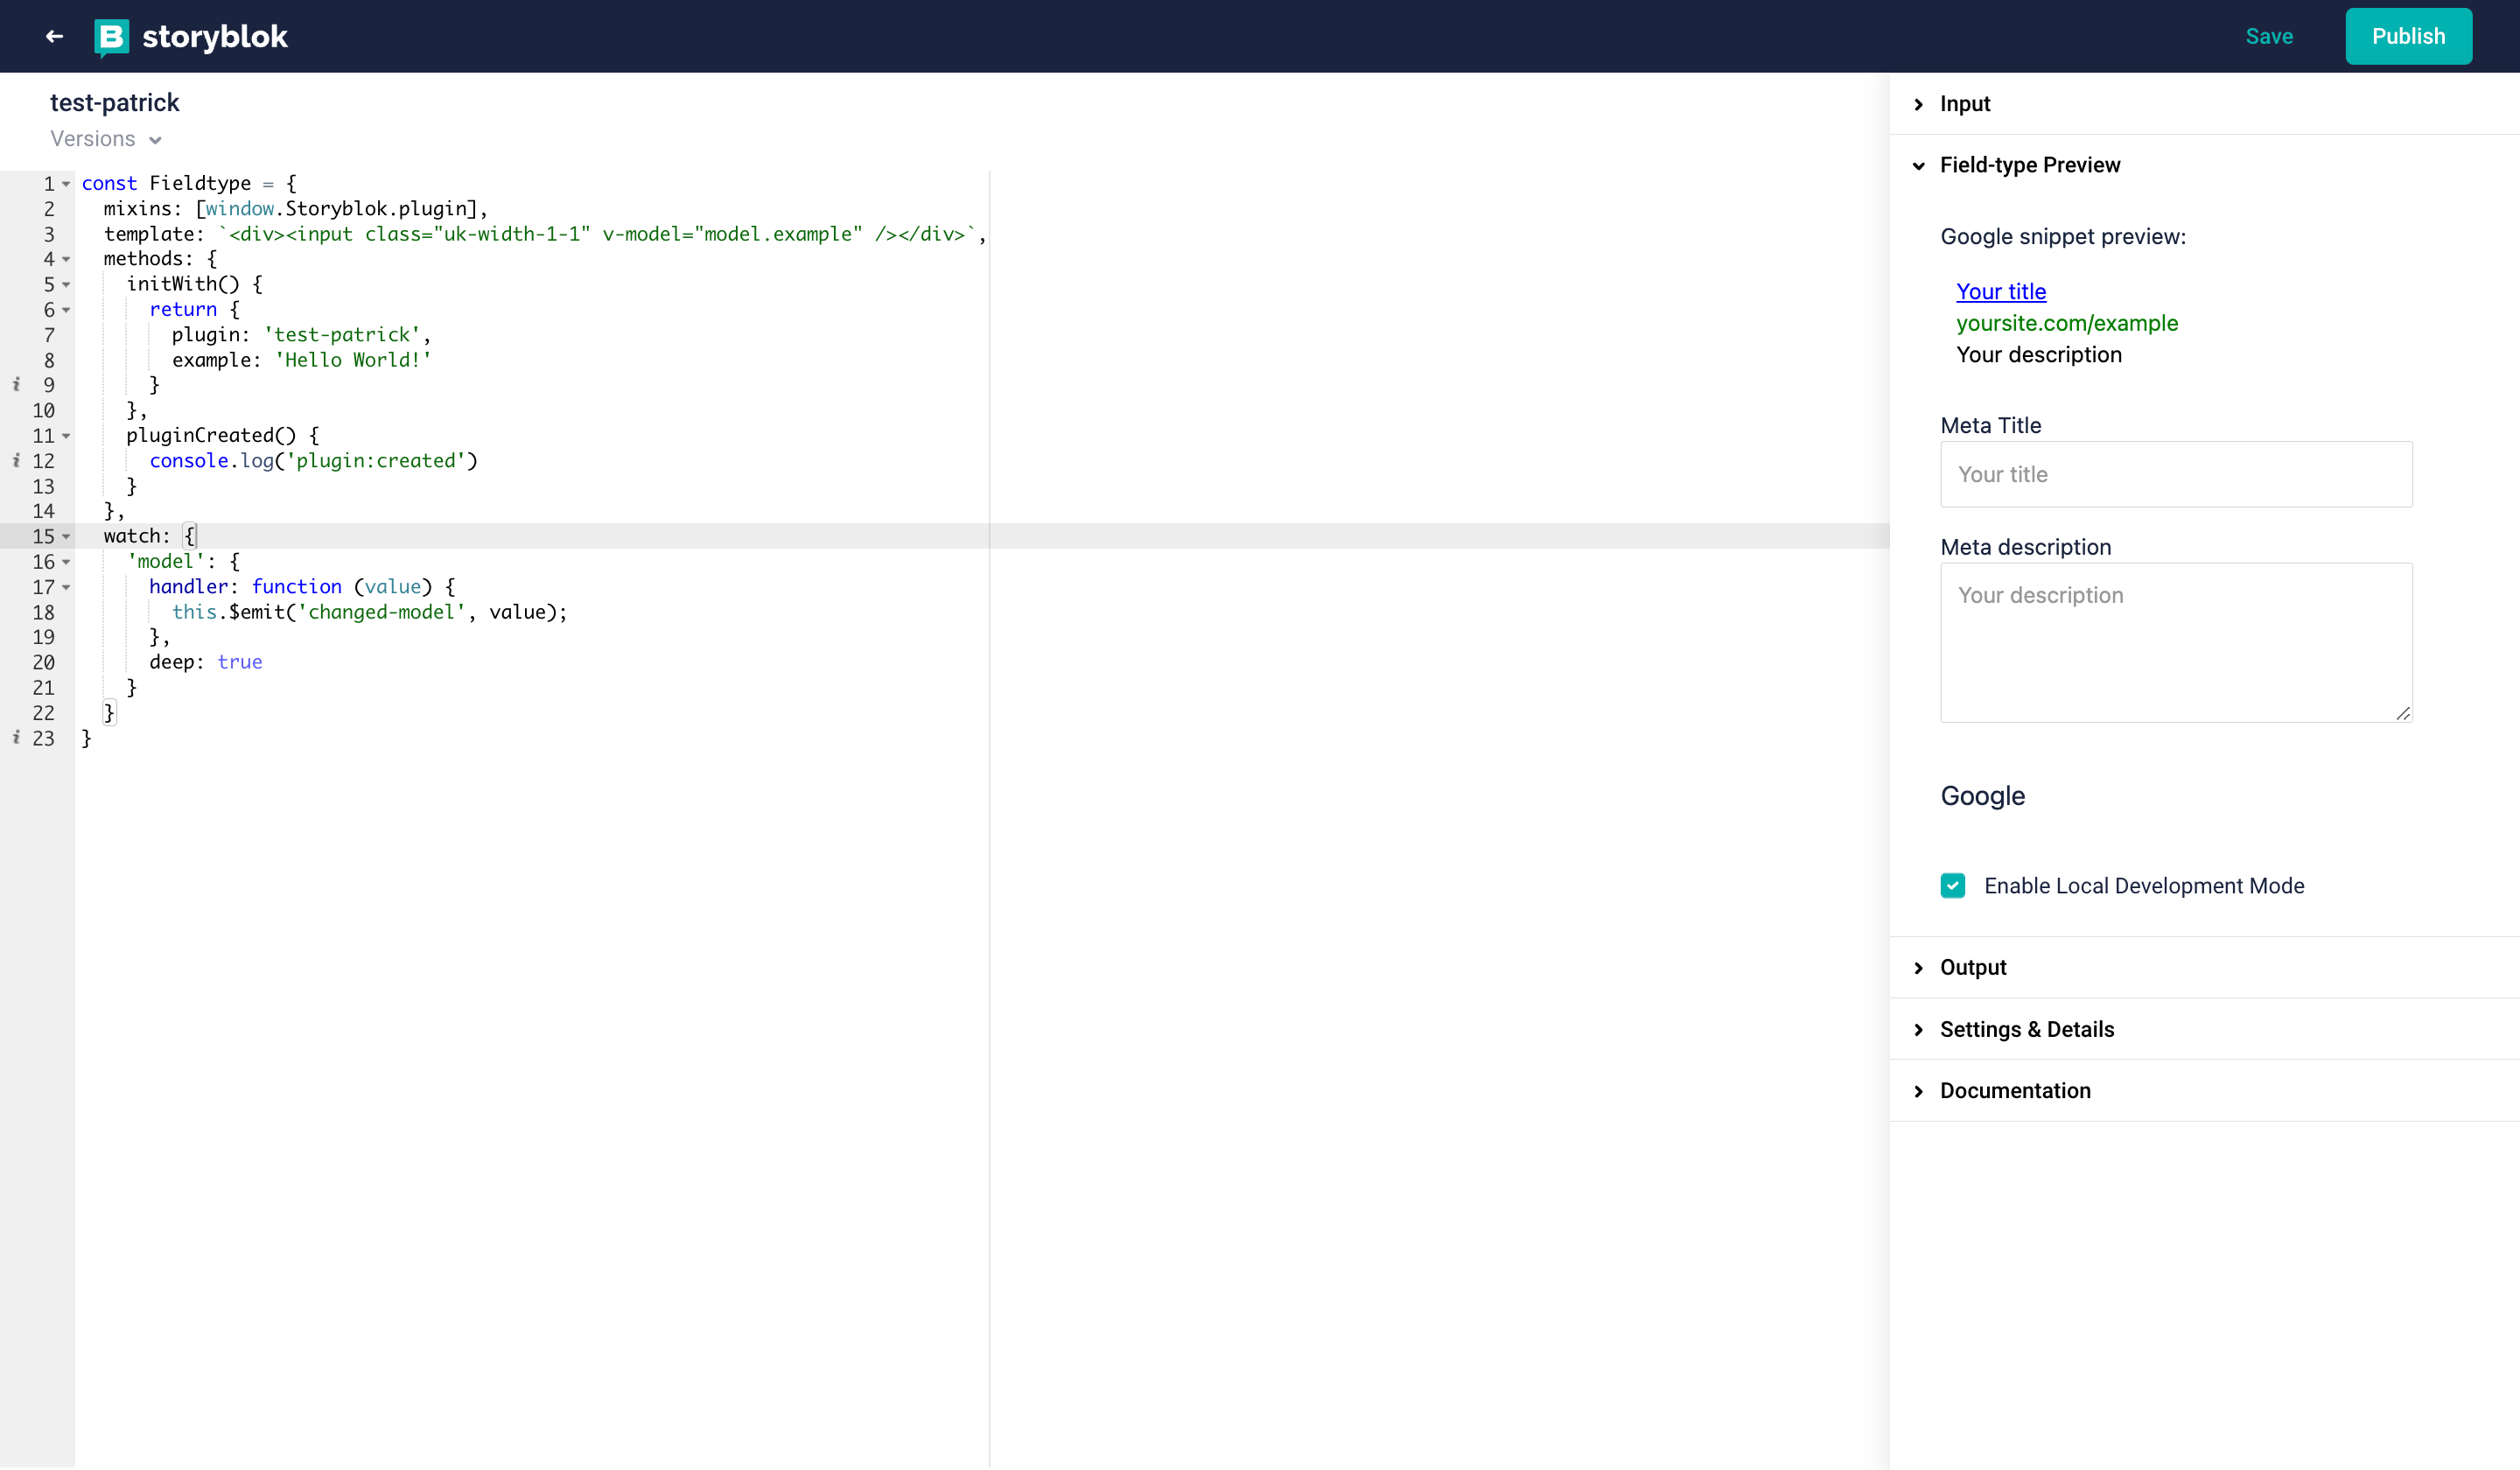
4. Now you can click the checkbox "Enable local dev mode" to load your local environment into the field-type preview and start developing your plugin {2}

5. When you finished developing your plugin you need to run npm run build and copy the content of the file dist/export.js into the editor text field {1} of the Storyblok app and click the Save button {2}. Now you should be able to see what you developed locally without having the localhost running. Make sure the name of your plugin is the same as in the Plugin.vue, otherwise the import will fail.

If the name of the plugin you created in Storyblok doesn't match the name in the initWith() method in the Plugin.vue file, you will get an import error. Also make sure that you're using the correct version of @vue/cli-service, so it compiles correctly.
There is also a great tutorial about plugin development on Markus Oberlehner's blog: https://markus.oberlehner.net/blog/building-a-custom-storyblok-field-type-plugin-with-vue/