Render Storyblok Stories Dynamically in SvelteKit
Storyblok is the first headless CMS that works for developers & marketers alike.
Having successfully integrated Storyblok into our SvelteKit app in the last tutorial, let’s know take it one step further and add dynamically rendered pages as well as a page layout.
If you are in a hurry, check out the code on Github.
Requirements
This tutorial is part 2 of the Ultimate Tutorial Series for SvelteKit (opens in a new window). We recommend that you follow the previous tutorial (opens in a new window) before starting this one.
Creating a Layout
Before creating additional pages in Storyblok, let’s, first of all, create a layout in our SvelteKit app. This layout should include a header bar and primary navigation for our website – because having multiple pages without being able to navigate between them doesn’t make much sense, right?
So let’s start by creating a Header.svelte component. Since this won’t have a corresponding blok in our Storyblok space, we’ll create it in our components folder:
<header class="w-full h-24 bg-[#f7f6fd]">
    <div class="container h-full mx-auto flex items-center justify-between">
        <h1 class="text-[#50b0ae] text-3xl font-bold">Storyblok SvelteKit</h1>
        <nav>
            <ul class="flex space-x-8 text-lg font-bold">
                <li class="hover:text-[#50b0ae]">
                    <a href="/blog"> Blog </a>
                </li>
                <li class="hover:text-[#50b0ae]">
                    <a href="/about"> About </a>
                </li>
                <li class="hover:text-[#50b0ae]">
                    <a href="/"> Home </a>
                </li>
            </ul>
        </nav>
    </div>
</header>
Now we can implement this header component in our +layout.svelte. Import the component and render it in the <main> part above your <slot/> tag.
<script>
import '../app.css';
import Header from "../components/Header.svelte";
</script>
<main>
<Header />
<slot />
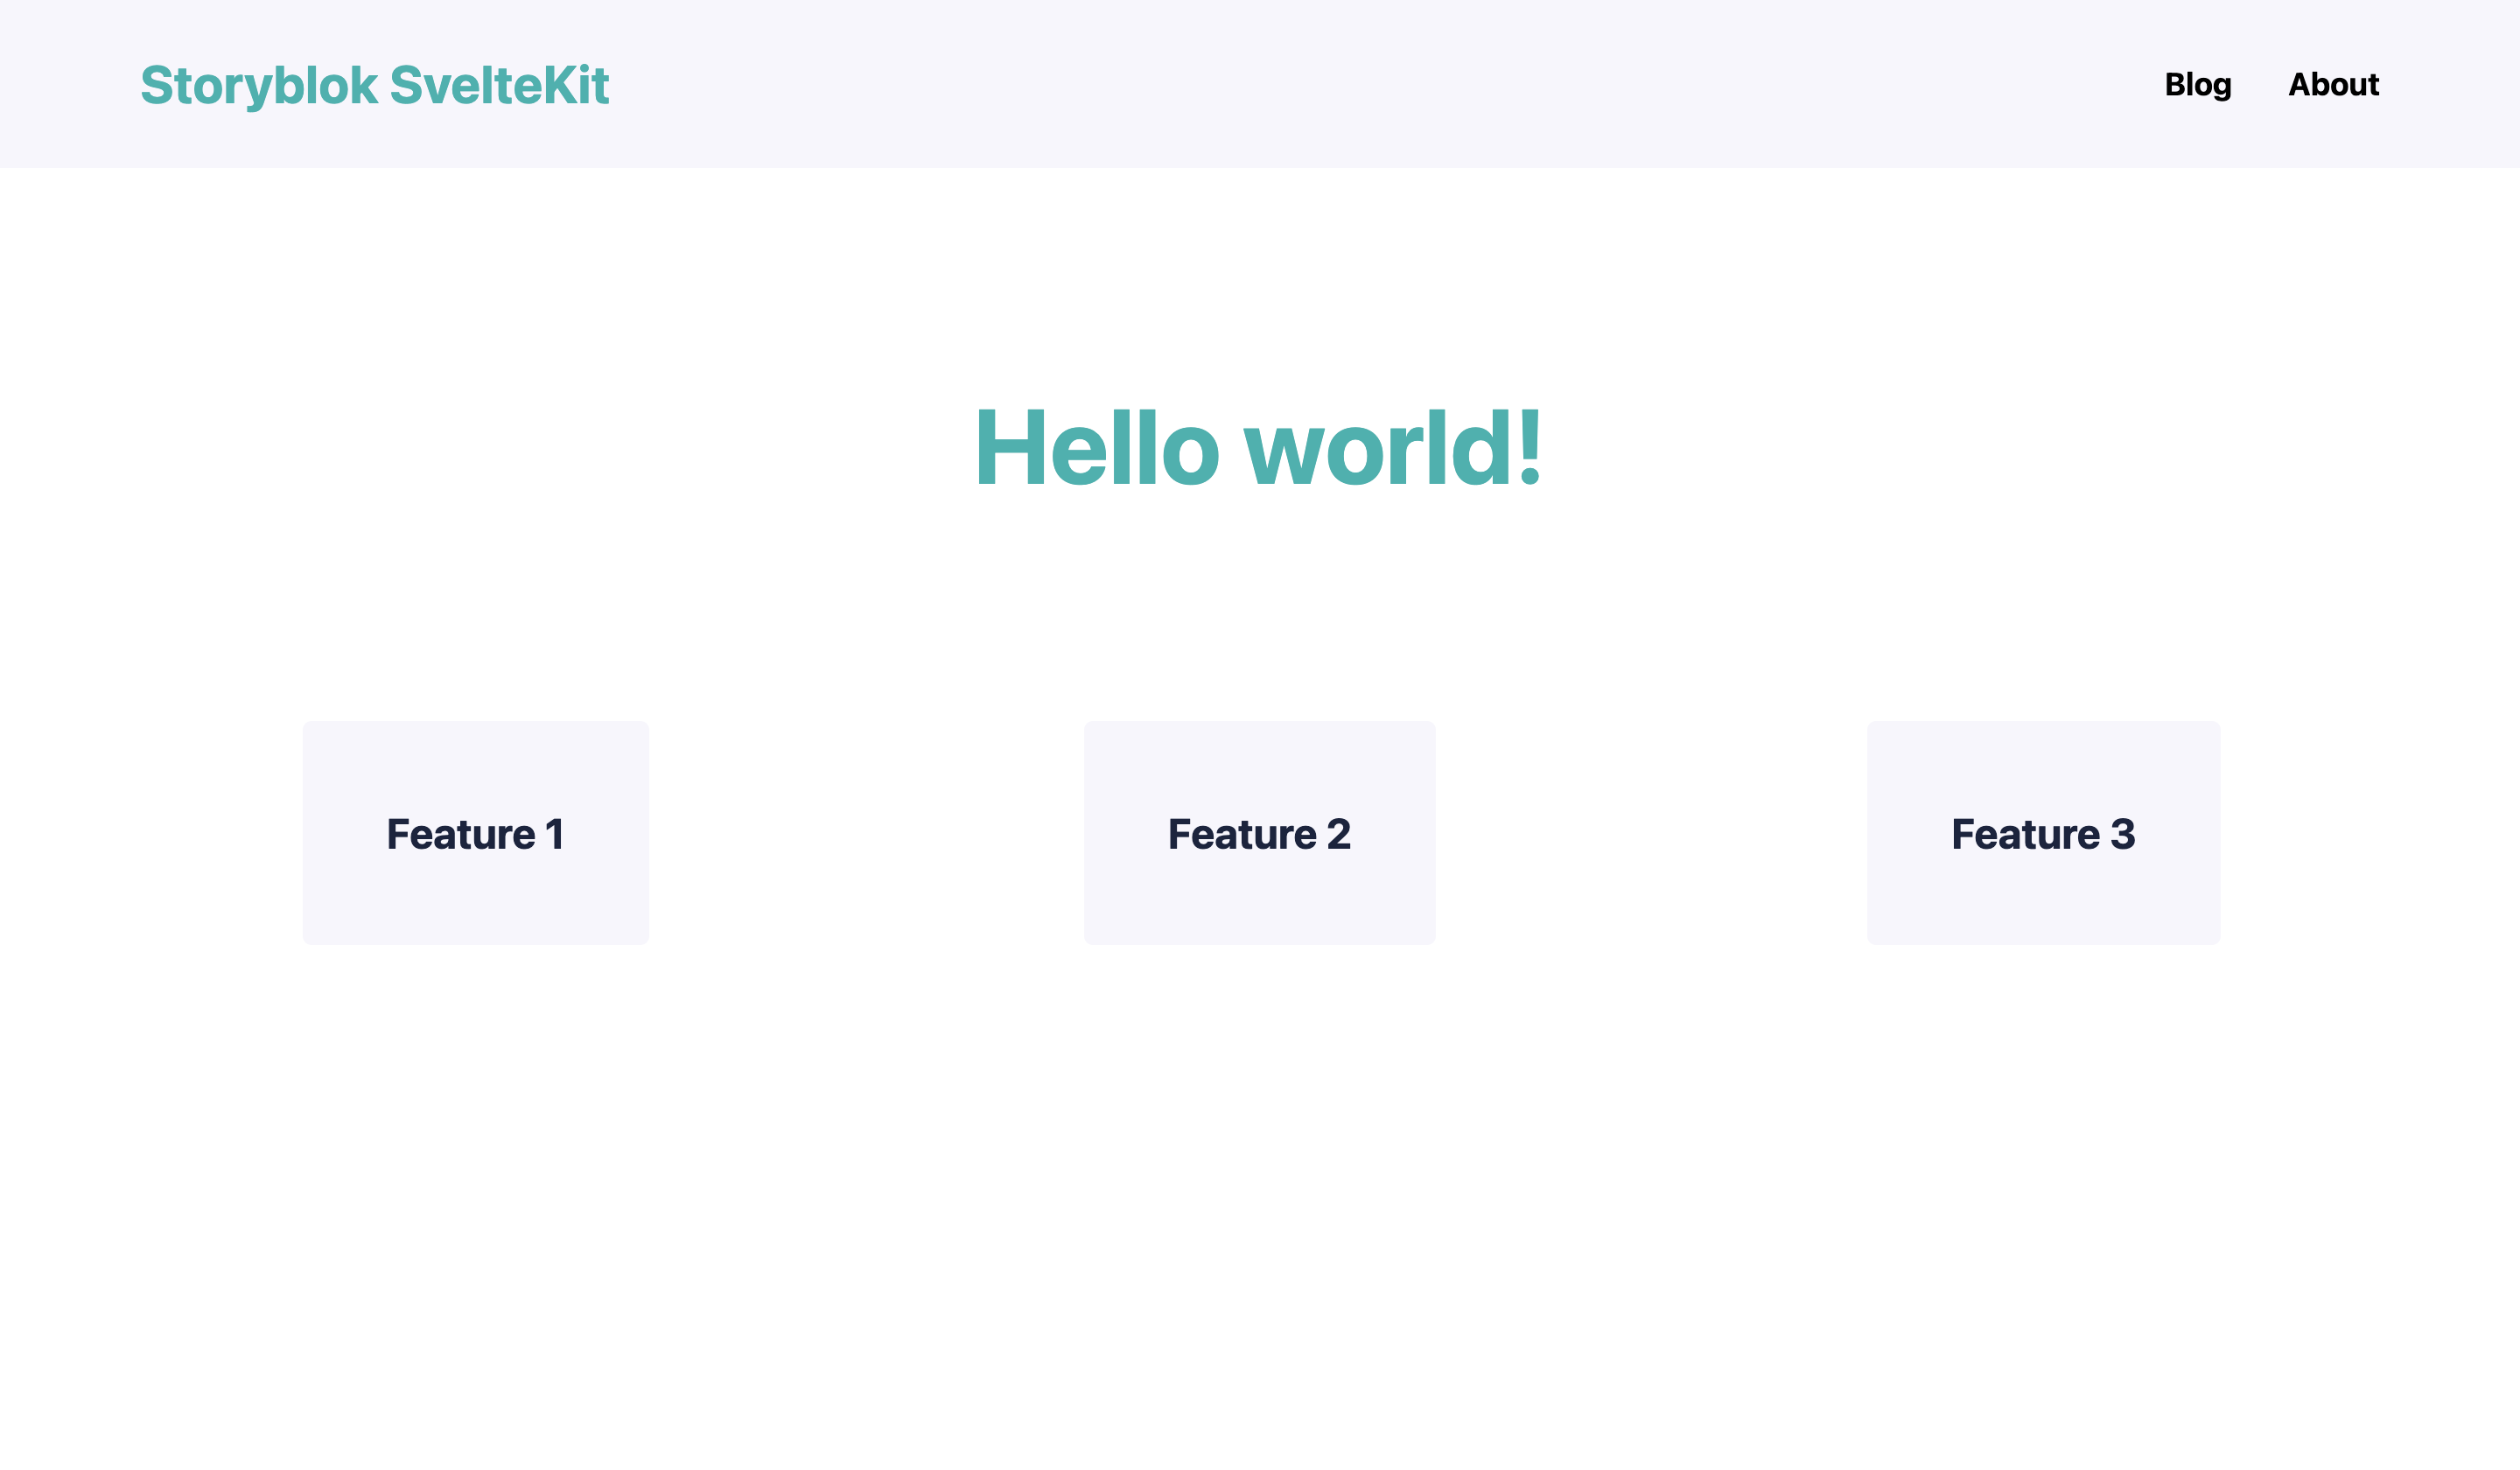
</main>And that’s it! If you take a look at your project running on https://localhost:5173 now, you’ll see your header component above your main content:
Rendering Pages dynamically
Before creating any new pages in the Storyblok space, let’s take care of the required logic on the frontend side.
SvelteKit's routing is filesystem-based - our pages are rooted in the routes folder. In order to render our pages dynamically, we'll create a [...slug] folder in this routes directory and move +page.js and +page.svelte there.
By default, pages are rendered on the server-side for the initial request and in the browser for subsequent navigation.
/** @type {import('./$types').PageLoad} */
export async function load({ params, parent }) {
  const { storyblokApi } = await parent();
  let slug = params.slug;
  let path = 'cdn/stories/';
  if (slug) {
    path += slug;
  } else {
    path += 'home';
  }
  const dataStory = await storyblokApi.get(path, {
    version: 'draft'
  });
  return {
    story: dataStory.data.story
  };

}
So, what’s happening here? We’re dynamically getting the current slug via the params.slug method. This is then passed as a parameter to the storyblokAPI function. If the slug is empty, we want our Home story to be displayed.
Note that SvelteKit uses <a> elements to navigate between routes, rather than a framework-specific <Link> component.
Let's also add a route announcement to +page.svelte to make sure our different pages are more accessible. Since page navigation in SvelteKit happens without a full page reload, we need to use another way to let users of assistive tech know that the context has changed. We'll add a <svelte:head> tag with a <title> which will announce the story's name every time the page is changed.
<script>
	import { onMount } from 'svelte';
	import { useStoryblokBridge, StoryblokComponent } from '@storyblok/svelte';

	export let data;
	onMount(() => {
		if (data.story) {
			useStoryblokBridge(data.story.id, (newStory) => (data.story = newStory));
		}
	});

</script>

<svelte:head>
  <title>{data.story.name}</title>
</svelte:head>
<div>
	{#if data.story}
		<StoryblokComponent blok={data.story.content} />
	{/if}
</div>
Adding Pages in Storyblok
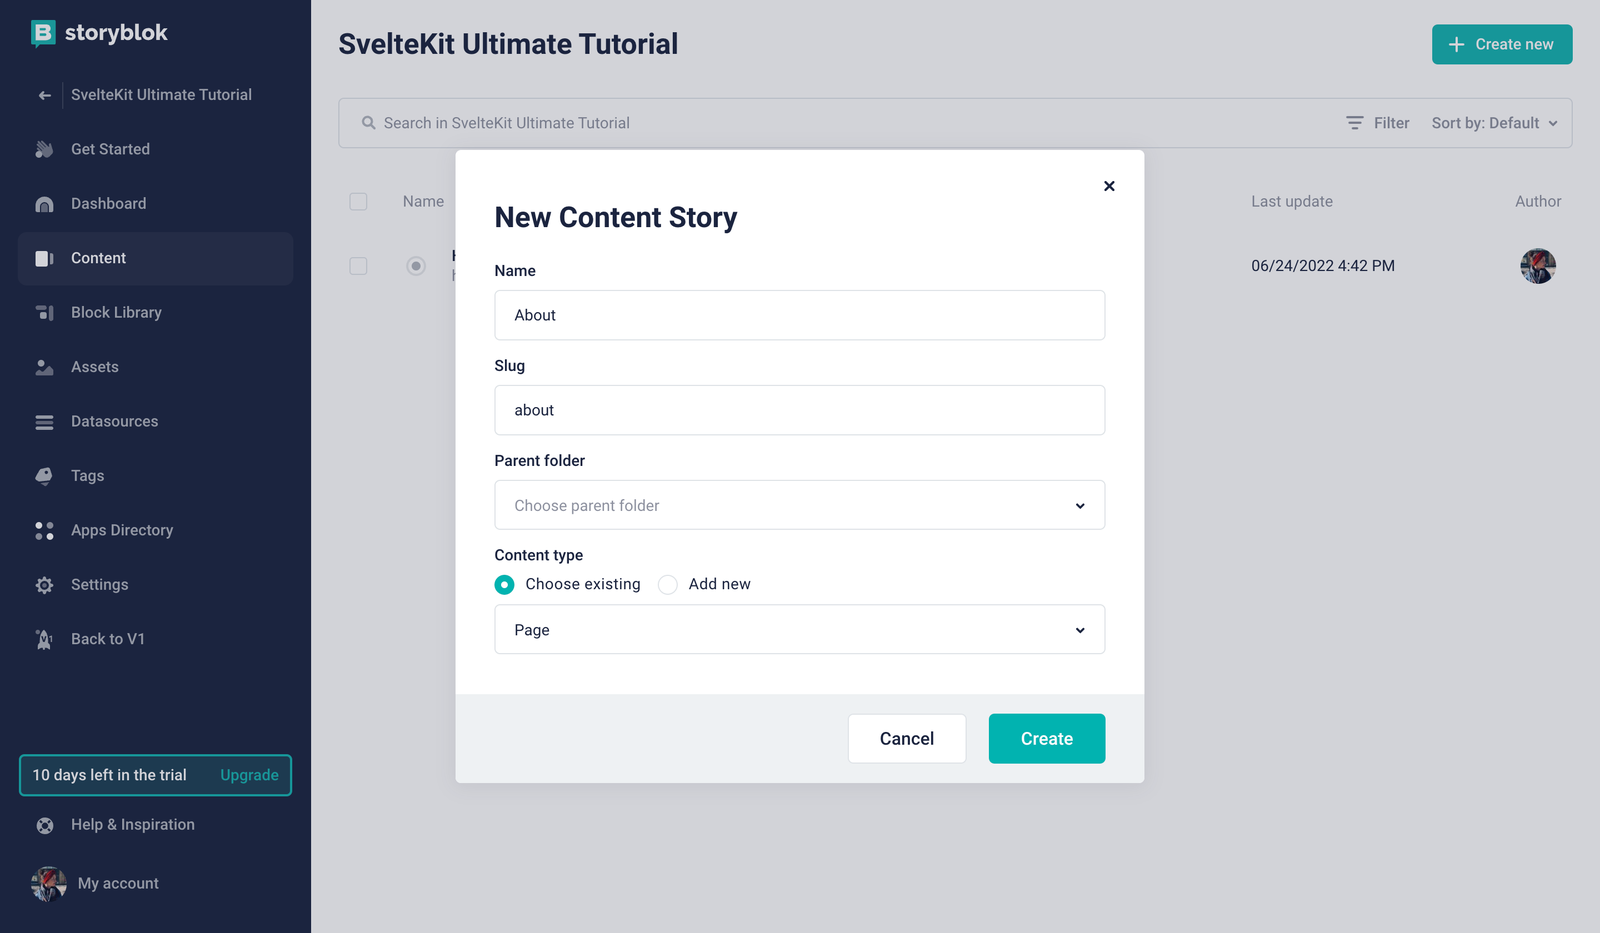
With our logic being complete, we can now add our Blog and About pages in our Storyblok space! To do that, simply go to Content {1}, Create New {2} and then Choose Story {3}.

Now you can provide a name {1} – the slug will be filled out automatically for you. Let’s start with the About page.
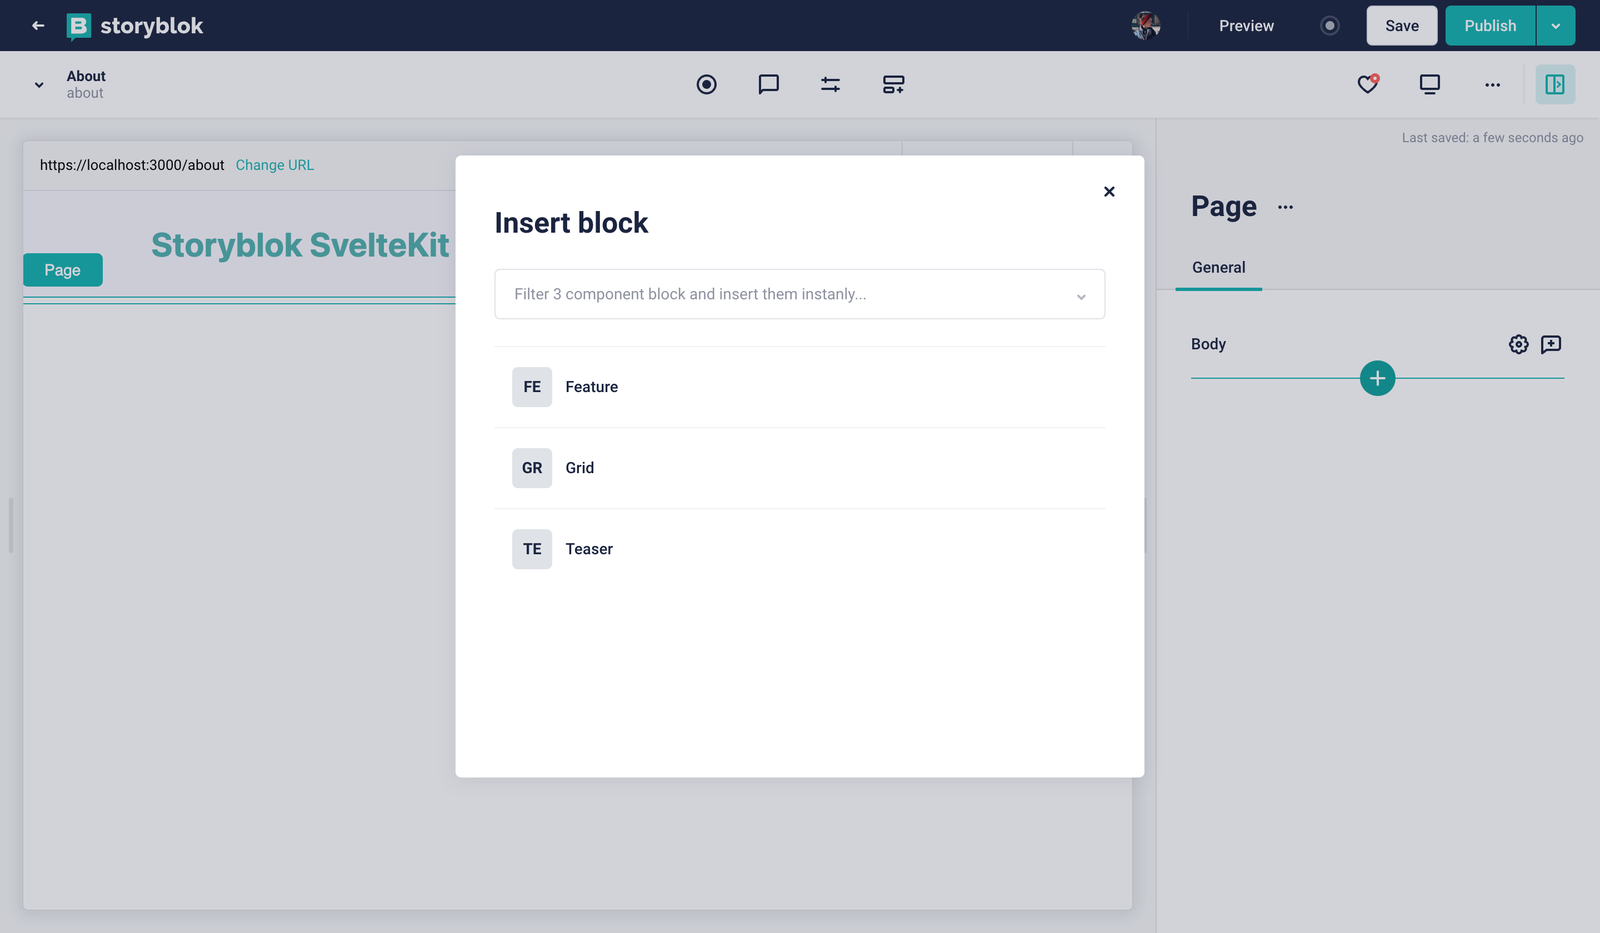
Once the page is created, you can add nestable bloks to it. Simply click on the Plus Icon {1} and add a Teaser component {2}.
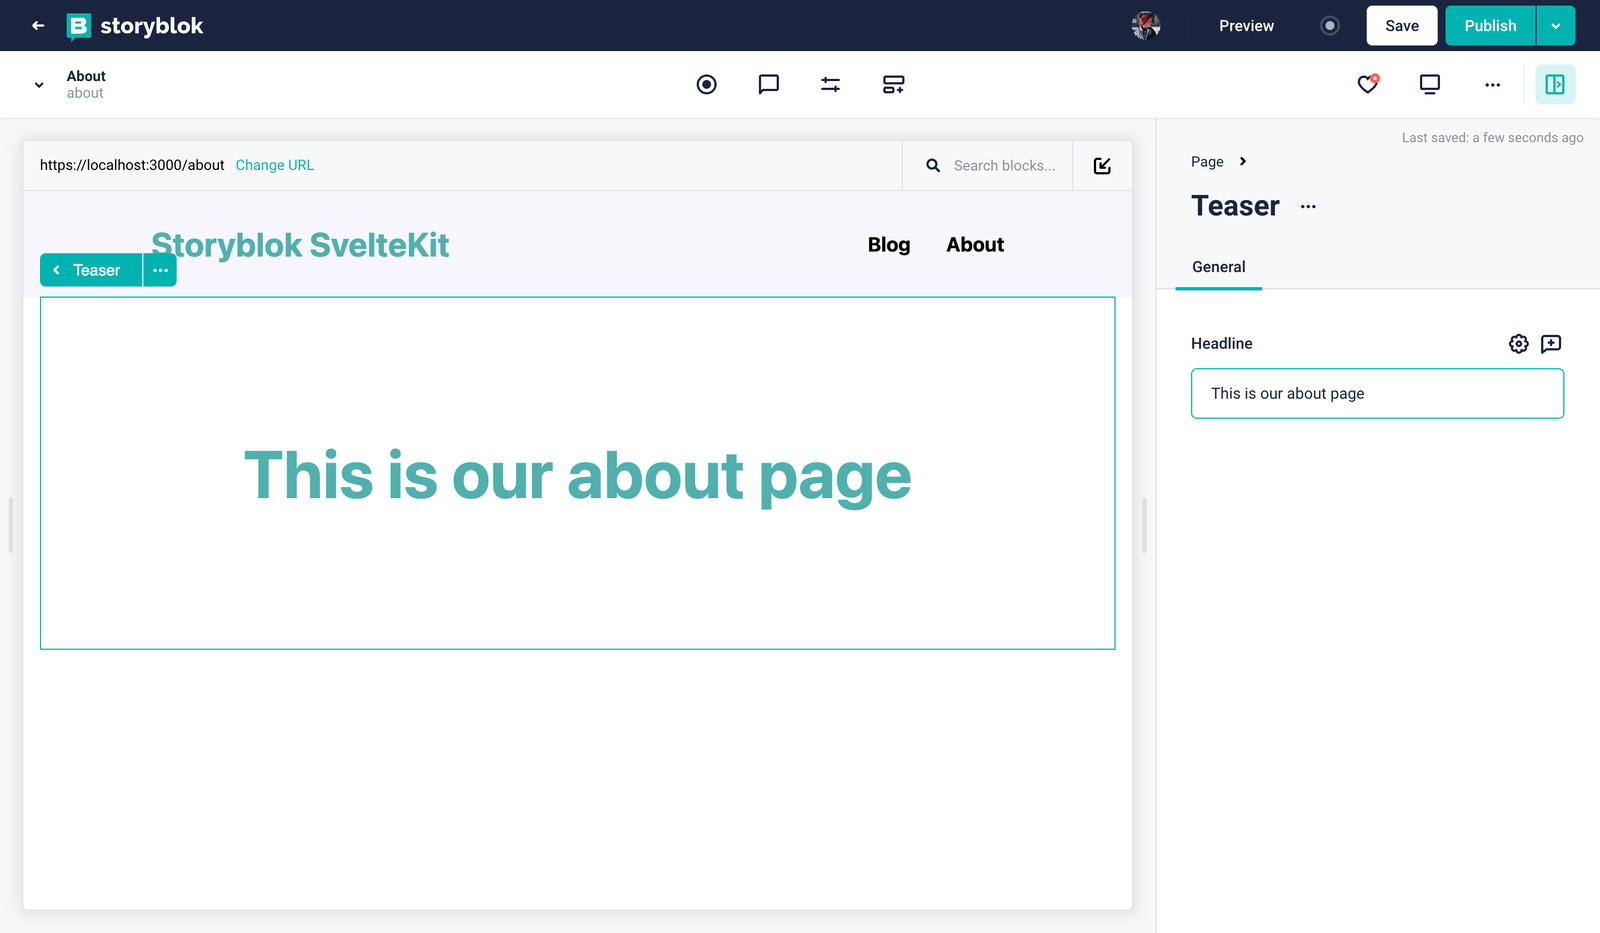
Now you can enter any headline you want for your newly created About page:
You can repeat this process for any other page you might like to create.
Wrapping Up
Congratulations! You have created your first pages in Storyblok and they are rendered in your SvelteKit app dynamically – how cool is that!?
Continue reading and find out How to create Dynamic Menus in Storyblok and SvelteKit. Not interested in dynamic menus? Feel free to skip this part and learn How to Create Custom Components in Storyblok and SvelteKit.
| Resource | Link |
|---|---|
| Storyblok SvelteKit Ultimate Tutorial | https://www.storyblok.com/tp/the-storyblok-sveltekit-ultimate-tutorial |
| Part 2 Github Branch | https://github.com/storyblok/sveltekit-ultimate-tutorial/tree/part-2-sveltekit-ut |
| Storyblok SvelteKit SDK | https://github.com/storyblok/storyblok-svelte |
| Storyblok APIs | https://www.storyblok.com/docs/api |
| SvelteKit | https://kit.svelte.dev/ |
